Building the Bowness Nucleus Hive.
Metropropolis, Calgary Beekeepers Association, March 2013
The Bowness Nucleus hive is fully featured, inexpensive, and easy to build. In addition to the typical applications of a Nucleus hive, this Nuc is designed for indoor overwintering.
Note that while this is intended to use a minimum of materials and tools, it still requires two specialized items: A Walter Kelly Entrance disc, and a 2 7/8” Hole saw. The hole saw is not required if you will not be using this hive for overwintering indoors or feeding.
Metal Disc entrances can be ordered at kelleybees.com. They cost about $4 each, shipped. They are item 279-DISC in the category “Entrances and mouse guards”. If you need to, something similar can be improvised from a Wide mouth Mason jar lid.

Equipment and materials
|
Cut list
|
Table saw
Brad Nailer w/ 1 1/4” brads
Two Wood Clamps, 1’ long
One 4’ X 2’ section of ¾” plywood [1]
Roll of 1/8” mesh Hardware cloth
One 2 7/8” Hole saw
One 1 1/4” Hole saw
One 4’ X 2’ section of Coroplast
One Langstroth frame, for sizing.
Four foot length of 2x2 Spruce
One 6-32 X 2” bolt
One 6-32 Wingnut
Titebond III Wood Glue
1 Metal Disc Entrance.
10 2 ½” Deck screws
60 Grit sandpaper
Classico, or other mason-style spaghetti jar.
|
Ends - 7 ¼” X 10 ¼” X 2pcs ( 3/4” ply)
Sides – 19 7/8” X 10 ¼” X 2pcs ( 3/4” ply)
Base/Lids – 8 7/8” X 20 “ X 2pcs ( 3/4” ply)
Side Rims - 21 1/2” X 1 ½” X 2 Pcs ( 3/4” ply)
End Rims/Handles – 8 ¾ X 1 ½ X 4 Pcs ( 3/4” ply)
Debris tray end – 5 ¾” X 1 ½” (ply)
Mesh Floor – 8 ½” X 19 ¼” ( 1/8” mesh HW cloth)
Feeder Hole Screen – 4” square of HW cloth
Feet – 20” long 2x2 X 2 PCS
Debris Tray – 5 ¾” X 19 ¾” (Coroplast)
|
Notes:
[1] A single 8’ X 4’ sheet of ¾” plywood cut into quarters will give enough for 4 Nucs. Rona will cut a full sheet into quarters for you in-store, which makes it a lot easier to handle and transport.
Layout on a 4’ X 2’ section of ¾” plywood
Materials from cutlist: Plywood, hardware cloth, 2x2, and coroplast
Cut 3/8” X 3/4” Rabbet on the inside face of the ends for frame rest.
Clamp, Glue, and air nail. Use a frame to verify and adjust size
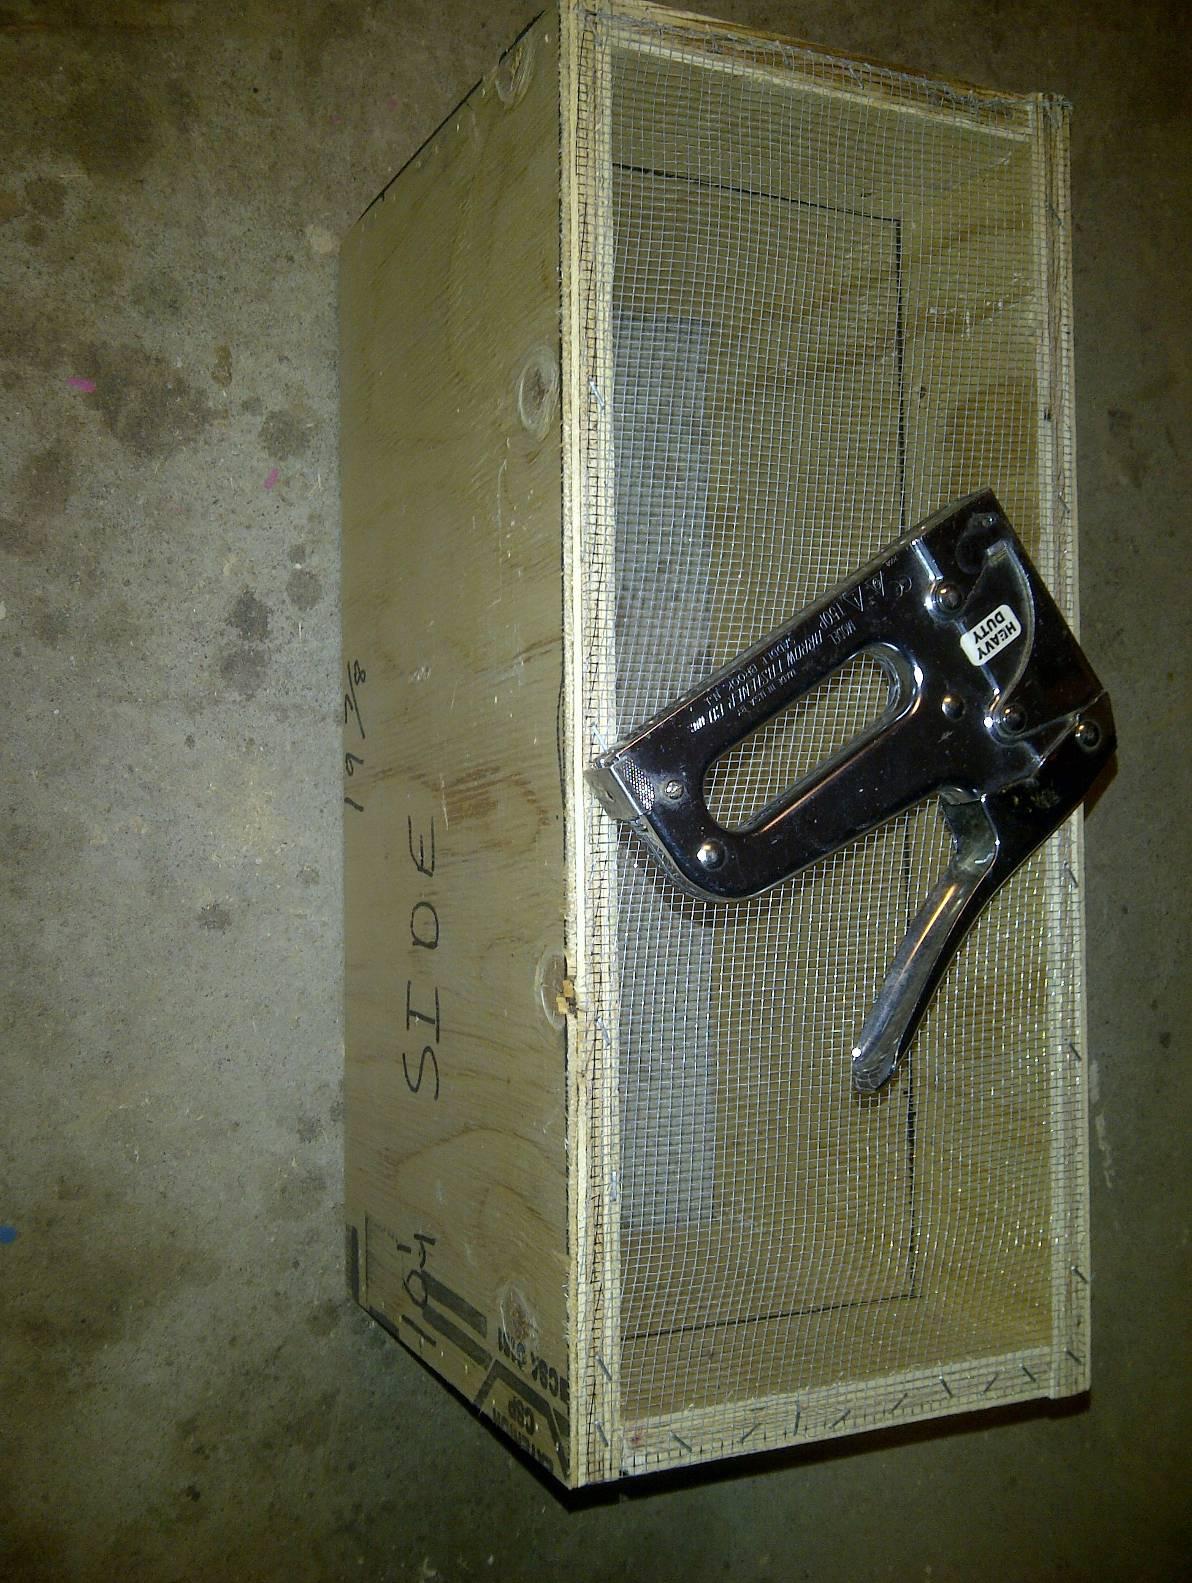
Staple screen to bottom with heavy duty stapler
Screw on legs.
Screw base over legs.
Glue and air nail rim to lid.
Place lid on hive body, and glue/nail handles to body directly under lid rim.
Mark center of end face, drill 1/16” pilot hole, and screw 6-32 bolt from the inside.
Affix entrance disc with wingnut, cut entrance hole with 1 ¼” hole saw.
Mark center on top of lid, cut feeder hole with 2 7/8” hole saw. Save the plug as you’ll want to use it later as a hole cover when not feeding. Sand 1/16 off of the top edge of the hole to accommodate feeder jar rim and allow it to sit flush with inside edge.
Staple 4” square of hardware cloth over feeder hole on inside of lid
Staple Coroplast onto 5 ¾” lengths of plywood to make debris tray.
Use nail to puncture holes in lid of feeder jar
Assemble and Enjoy!